Deploying and Managing a Fleet of Measurement Kit Devices
In our pilot project, Measuring Broadband in Schools, we used small Odroid computers running the Network Diagnostic Tool (NDT) to measure internet health in public school classrooms in Alexandria, Virginia. Installing and running code on these computers was done manually and managing them was a bit of a headache. The project was a prototype, intended to be short-term, so while setup and management was manual a more sustainable next stage solution had to be devised. We’ve started work on a solution to provision and manage small computers like the ones we used in the pilot, which we hope will provide a more sustainable solution for both individuals wanting to run regular tests from their home connections and for groups who wish to conduct research projects similar to our work in Alexandria, VA.
I recently wrote about Building a Raspberry Pi M-Lab Auto-tester, outlining how to set up a Raspberry Pi 3 to run Measurement Kit, an open source library that provides a suite of network measurement tests, including NDT, OONI, and Neubot. That work is still in progress, but in the end will be suitable for a home or small business user to regularly run tests to measure their internet connection over time, and see a visualization of their device’s data over time.
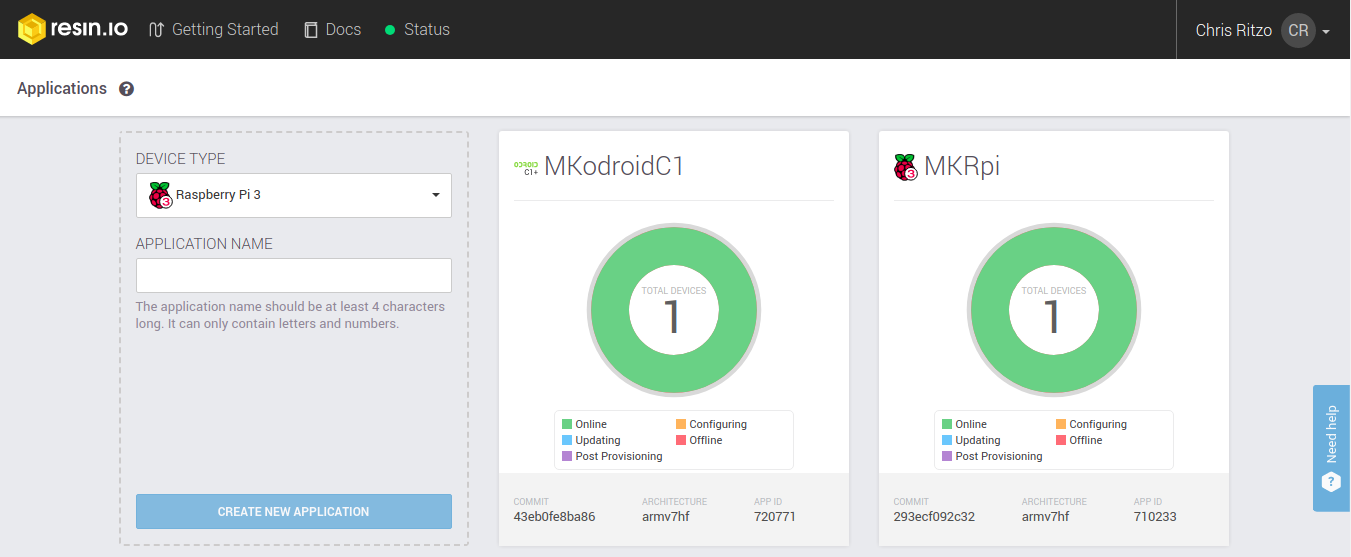
But what about deploying and managing a fleet of computers all running the same code? To do that effectively, we need a more scalable solution. We’re currently prototyping using Resin.io, an “Internet of Things” service, which allows us to bake our code into a Docker container, and push it to a fleet of devices. We’ve setup two Resin “Applications,” each of which is tied to a type of device. In the image below you’ll see we’ve set up two applications, one for a Raspberry Pi 3 and another for an Odroid C1/C1+.

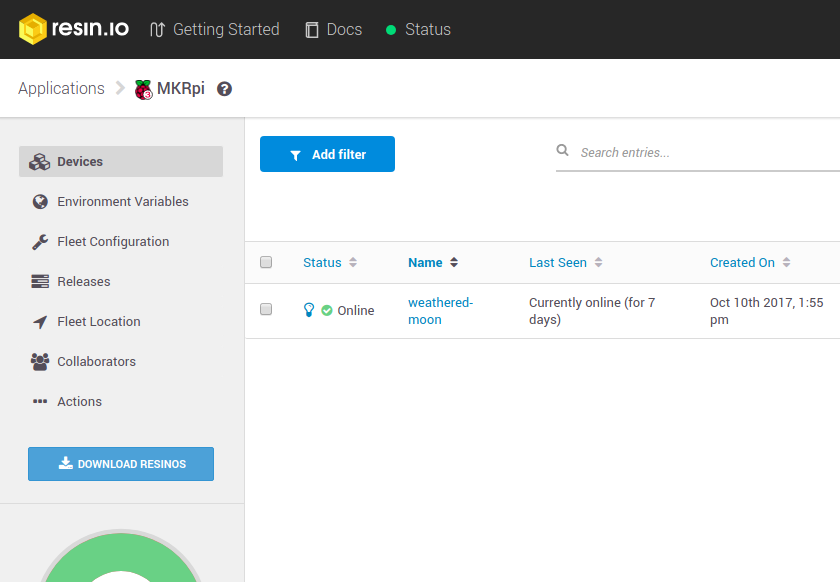
We can then download a “Resino” for our application, which is a special disk image that gets written to a new device’s SD card. Every new Raspberry Pi 3 that we want to use in our fleet will use the same disk image. This makes setting up a new device dead simple, and is one of the best things about using Resin.io. We can provide a disk image file for each type of computer, write the image to an SD card, connect the device to the internet, power it on, and Resin takes care of setting it up. This is super simple and will enable us to work with partners who may not have much technical expertise. Once the device is online it shows up in the appropriate project, and we’re ready to push code to it.

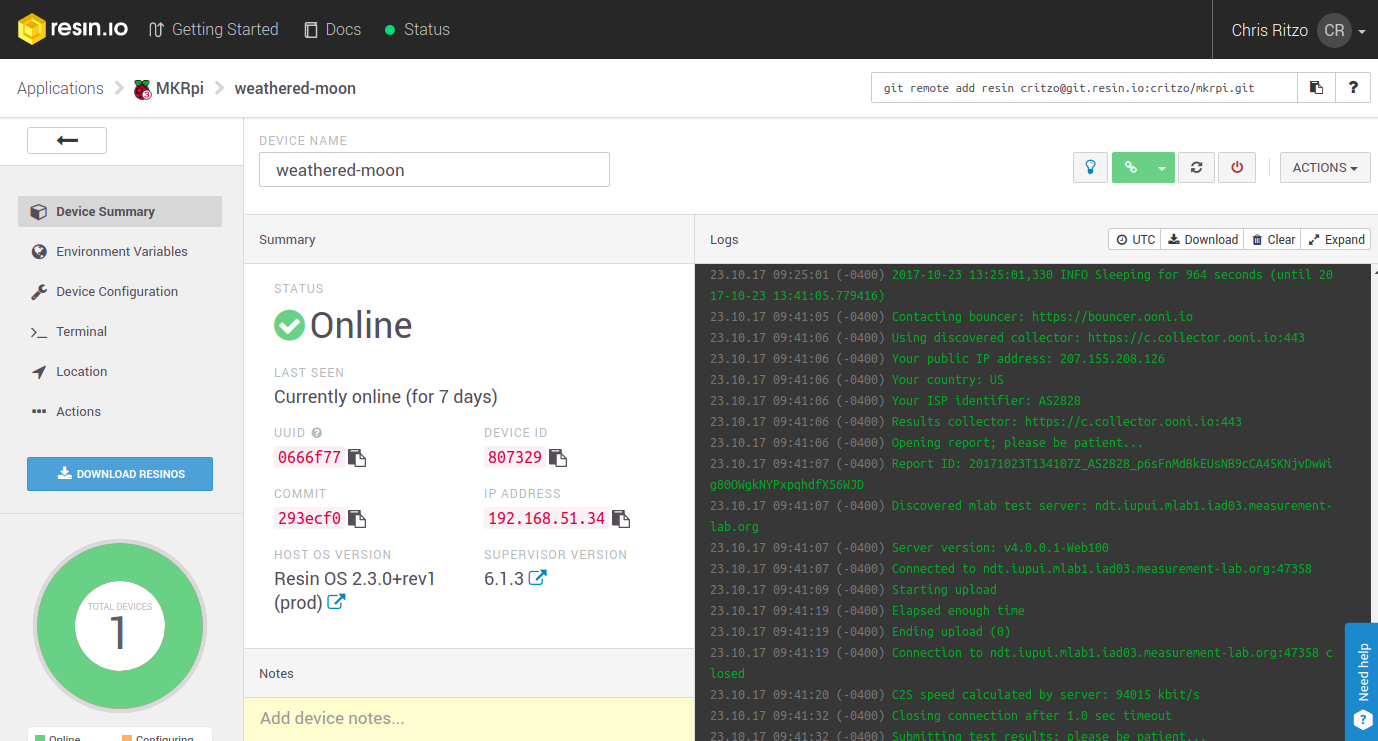
Resin gives us a set of management pages for every device. The Device Summary page provides some status information, notes area, a live log viewer, and several administrative features including remote reboot, restart the running application, LED blinking for physical identification, and more. Environment variables can be set at the application level and device level, allowing sensitive data—like database credentials—to be stored in a secure place not on the devices themselves. There are a lot more features, but the remote terminal is another worth mentioning. This has been useful in debugging as we develop our application.

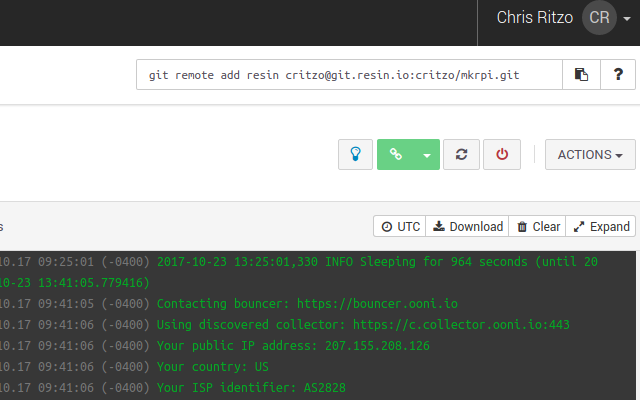
Of course, we’re developing the application on Github, and by using Resin’s great documentation we can use the same code to deploy to Raspberry Pi 3’s, Odroid C1’s, or any other supported device. Each Resin application we create has a git remote URL that we add to our local application: “git remote add resin critzo@git.resin.io:critzo/mkrpi.git”. This adds a remote called “resin” to our local copy of the code.

On our local development machines, we can simply paste that text in, adding the remote for the Resin application. We can also rename the remote by changing out “resin” for something more specific. In our case this is needed so we can push code to different types of devices. The terminal output below shows the files in our local folder, followed by a listing of the git remotes we’re using.
- origin - developer’s fork of the official oti-upstream repository
- oti-upstream - the official code repository
- resin-odroid - the git remote URL for our Resin.io project for Odroid C1 devices
- resin-rpi3 - the git remote URL for our Resin.io project for Raspberry Pi 3 devices
~/development/mk-rpi$ ls
data.json            files       measurement-kit  README.md  test-runner
Dockerfile.template  LICENSE.md  processjson.py   setup.sh   WIP

~/development/mk-rpi$ git remote -v
origin	git@github.com:critzo/mk-rpi.git (fetch)
origin	git@github.com:critzo/mk-rpi.git (push)
oti-upstream	git@github.com:opentechinstitute/mk-rpi.git (fetch)
oti-upstream	git@github.com:opentechinstitute/mk-rpi.git (push)
resin-odroid	critzo@git.resin.io:critzo/mkodroidc1.git (fetch)
resin-odroid	critzo@git.resin.io:critzo/mkodroidc1.git (push)
resin-rpi3	critzo@git.resin.io:critzo/mkrpi.git (fetch)
resin-rpi3	critzo@git.resin.io:critzo/mkrpi.git (push)
Now when I’m ready to test out an update for Raspberry Pi 3s, I can just run the command:
~/development/mk-rpi$ git push resin-rpi3 master
Or if I need to test on my Odroids: ~/development/mk-rpi$ git push resin-odroid master
So far we’ve tested using the Raspberry Pi 3 and Odroid C1+. Like the single use case I described in my last blog post, we’re also using Measurement Kit, which in addition to providing other tests beyond NDT also outputs test results in JSON format and can push results to another server.
There’s still work to be done. Currently we’re working on support for a database and visualization running on the device itself, envisioning a kiosk style monitor of internet quality for individual users or displays. We’ll also provide a server setup of the same database and visualization engine to enable central collection and visualization of a fleet of computers running Measurement Kit. But in our testing thus far, we’re excited about using Resin.io to deploy and manage a small fleet of computers to run network measurement tests in a consistent way, and we’re looking forward to trying it out in the field.